Showing posts with label texture. Show all posts

Wednesday, February 9, 2022

Is there life outside the studio?

Keep scrolling and you'll see why I haven't posted in a few weeks. I couldn't tear myself away from my studio! It's a lovely problem to have. I'm still working with the sketchbook from the last post. I got some new colors in from Nova so of course I had to do some swatches, mixes, and playing. Bits and pieces of these pages have been working themselves into finished paintings. It may be recognizable or it may not, but the book definitely sparks ideas and helps keep the momentum going.
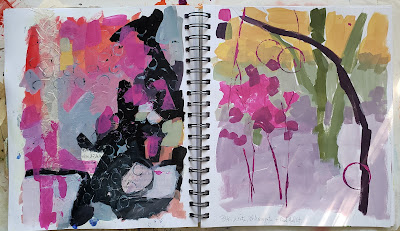
Loving these colors! I was playing with black, white, magenta, and cad yellow. Black, cad yellow and white can make the most wonderful sage greens. 
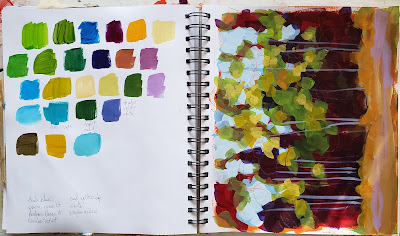
You can see the influence of this one on Quiet Time below.
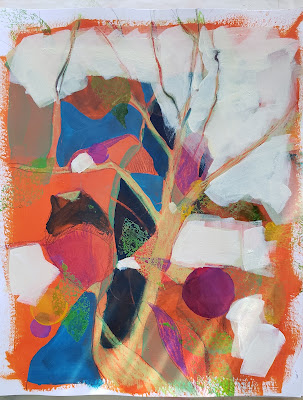
I don't know where this one will lead but I'm sure bits of it will show up on a canvas at some point.
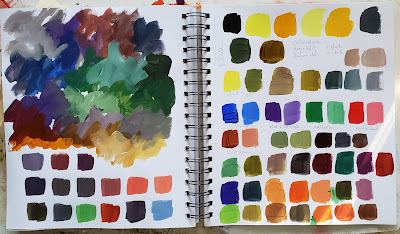
Testing out new paints. At the top I was playing with more black and yellow mixes using Hansa yellow and Indian yellow. 
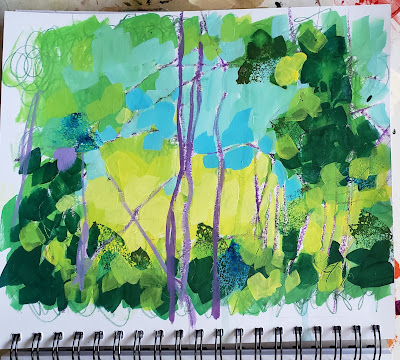
This is a mess - but I like the colors. It's just a sketchbook.
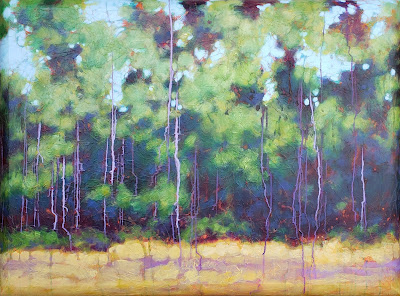

Quiet Time
36x48
This one is on a convexo canvas. Instead of flat sides it has a beveled edge. I textured the entire canvas with tissue paper before painting.
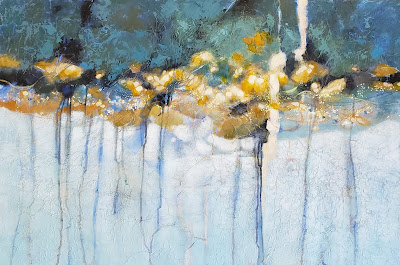
Riverside
24x36
Riverside is painted on top of a painting I did years ago. I kept the basic composition but pushed the colors and values. I added drips, dots, and a band of interference color that shifts depending on the way the light hits it. 
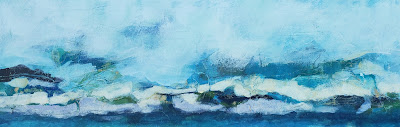
Coastline
10x30
I don't usually work on this extreme shape but I was gifted the canvas by a neighbor and loved it!
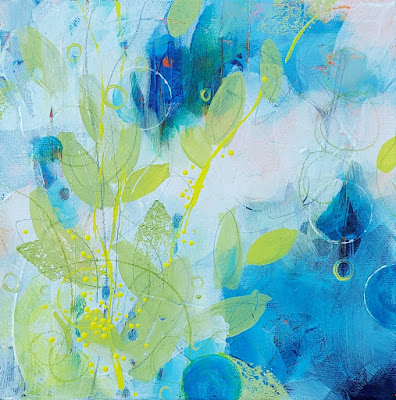
8x8
This one was a bit of fun. I do love circles, they show up in almost everything but this time I thought I'd add leaf shapes too. Is it done? Who knows.
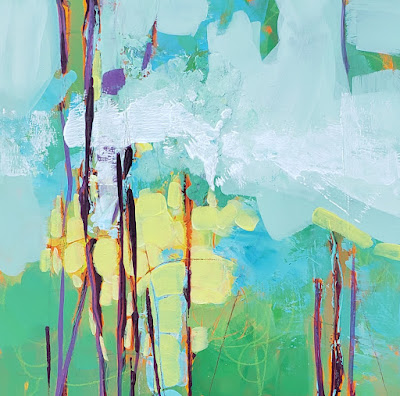
8x8
The mess of a page? I told you I loved the colors - creamy yellow, light bright greens and blues with a kick of purple. This is where it's going so far. I'm still deciding what else to do with it. I'm also playing on a different surface for me. I picked up some cradled wood boards and wanted to see how I felt about painting on a rigid panel. Do you have a preference? Wood or canvas?
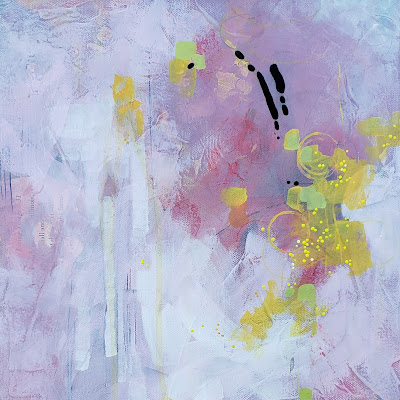
12x12
I went for a muted palette this time. I still wanted the bright yellow but I wanted to tone down the bright pink and make it more of a dusty pink. For the black accent I used ultra matte BLK3.0. To set off the flatness of the black I finished the rest of the painting by using a satin varnish. I'm still deciding on a title for this one. Feel free to leave suggestions in the comments below!
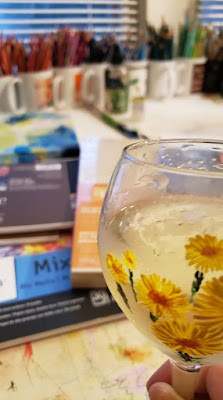
After a month of studio time, February started out with a full art immersion. Friday night was First Friday Art Walk downtown and then Saturday, hubby and I went to the Mt. Dora art festival, then on to Orlando to Sam Flax for supplies like that wood panel I'm playing on, and we got back to town just in time for a lovely reception at 8th Ave Gallery. New supplies, looking at fabulous art, and talking to other artists is a reason to celebrate and the inspiration continues....

Now I hope it won't be a full month before posting again. I'm trying to be better about it. I'm not exactly sure what's up right now but I feel like something is shifting. Maybe my work is moving in a new direction. Maybe something is brewing. Do you ever have that feeling that something is changing but you can't quite put your finger on what it is? Hey, maybe I'm about to have a creative breakthrough!! It would be cool to think so. Or maybe I'm just reacting to stress and hiding in my studio feels like the best place to be right now. I really don't know. I'll take it either way because I'm painting and most importantly, I'm learning. If you feel compelled to make stuff - just go do it. 


Monday, December 20, 2021

Don't stir the wasp nest!

What happened to this month?! Was it really Dec 1st last time I posted? So, what I did this month..... rememeber the wasps I was battling? They won another battle but I won the war. 

I managed to snap a pic of these nasties before things got really ugly.

After pouring the powder and moving the birdbath over the hole, I thought they would be trapped but it didn't work. I wanted to do something that wouldn't harm the camellias that are right next to the nest so I was looking online and saw that a glass bowl placed over the opening would trap them. You have to do things like that early in the morning while the temp is cool and they're down inside the nest.

I put my heavy robe on and headed out. With the glass bowl in my left hand, I grabbed the bird bath with my right and pulled it out of the way. Well, they were waiting for me. Before I could put the bowl over the opening, a huge clump of them came zooming out. I dropped the bowl, it broke against the bird bath, I ran while they chased and stung me. Luckily only 3 of them got me - one on the earlobe and 2 on the leg. I saw them crawling all over the robe so I threw it off, left it in the yard and ran inside where I smacked several more off my pj's, stomped on them and had to get the bug spray to kill the one buzzing in the kitchen. 

Before all this happened, I wanted to do things organically, no poison. My husband suggested gasoline. Of course I said no. I can tell you that after the pain of being stung multiple times in that very traumatic incident, I told him he could throw a molotov cocktail down there for all I cared. If I lose a few trees, so be it. It didn't get that dramatic but I did call the pest control guys. It took them 4 trips to the house but the nasties are finally gone. Lesson learned. Do not bother the yellow jackets. Call a professional.

And yes, art happened too....
Remember the painting of my granddaughter from the previous post? Here's her sister with her mask. Fun! 


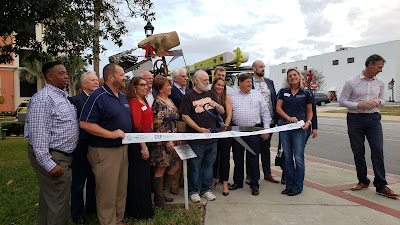
My husband Mark is also an artist and he did a special outdoor sculpture project in collaboration with IHMC - Institute for Human and Machine Cognition and OEU - Ocala Electric Utility.  Look above everyone's heads and you can see a bit of it - the human hand and the robot hand. It's a steam punky kinetic sculpture so the robot hand moves up to meet the human hand. Here's hubby cutting the ribbon at the unveiling. The last weekend of working on this project in our yard was also the same weekend of the wasps. After I stirred them up I was terrified they would go after him and the others working on the sculpture. Thankfully they didn't bother the guys but they stayed mad all day, swirling in a huge cloud over the opening of their nest. Nerve wracking!!

Second Spring
20x16
I painted a couple of new pieces too. This one is part of the group from this post, lots of hot color.

And then I had to play with texture and drips. I was still feeling the warm colors but went with more red and pink. Doing these non-representational, textured pieces are a break for me. They help me loosen up and keep things fun and exciting. I can't seem to paint the same thing over and over again. I need change.

The highlight of the month was going to the Appleton Museum to see the Mucha exhibition. I went with my friend Kelli who studied printmaking in college. She was able to explain in detail about the process that Mucha used for his posters. I had no idea they were so large and the process so tedious! The exhibit will be at the museum until January 9th. If you can make it, it's a must see. 


The bonus at the Appleton was the Christmas display. My youngest daughter was a ballerina in her dance school days so I had to get a photo of this display because of the legs and feet on the table. The display is so whimsical and fun, a perfect way to say Merry Christmas!


I hope you all have a wonderful week, a very Merry Christmas, a Happy Holiday however you celebrate. Spend time with your loved ones, eat good food, play and be happy. 


Wednesday, May 16, 2018

A short and speedy clip

I discovered the hyperlapse setting on my phone! Yay! I love watching artists in their speed painting videos so I decided to try it myself. Yesterday I set up my little blue flexible tripod with my phone in it and did a clip of me working on the next bird nest painting. This is only the second time doing this. Hopefully these little clips will get better with practice. Light can be an issue in my studio so I might have to experiment with the placement of my easel and I have to figure out a way to get closer to the canvas too.

Anyway..... here's a short clip of a work in progress. It's an 8x8 canvas that I first textured with super heavy gesso. After letting that dry overnight I painted the whole canvas red, sketched the design and then applied gold leaf. Here I'm working with acrylic. I'm not done at the end of the clip, I still have some work to do so I'll share it when it's finished.


Thanks for watching!

Wednesday, February 22, 2017

A new landscape painting step by step


Hi folks. I hope February is treating you well. I thought I'd share the step by step process from painting my newest landscape. This one is a diptych done on 2- 20x20 canvases so the final size is 40x20. I love texture so before I started painting I prepped the canvas with crumpled tissue paper (you can see a close up below). I just use the white stuff that you use in gift bags, wad it up into a ball, open it up and apply it to the canvas with either a matt acrylic medium or matt Mod Podge. If you try this, be sure to use the matt version, not the gloss. You get better adhesion with the acrylic paint this way. Paint a layer of the adhesive on the canvas. Apply the tissue and then do another layer of adhesive on top. After the tissue is dry I painted both canvases with red acrylic.


As you can see I stacked the canvases on my easel. Of course this is the best way to get continuity when doing multiple panels. I sketched the design first with a white pastel pencil and then started blocking in color.


Once I knew where the basic elements were I started loosely putting in the greens. I use a large brush and keep the strokes mostly open and separate. I don't want to cover up too much of the red because there's still lots of layering to do and I like to leave a bit of red peeking through over the whole painting for interest and consistency.


Here, I'm working my way down the canvases with yellows and greens, still keeping things loose.


I added some purple on the ground area under the trees. Once all of the canvas is covered I go back and begin putting in more color, building layers. The colors I used were permanent sap green, permanent green light, cad yellow deep, arylamide yellow light, orange, purple, cobalt blue and white.


This gives you a better idea of what the texture is like. You can also tell that I don't cover all the red.


I added some purples to the tree trunks and then started adding leaves to the foreground to cover bits of the trunks.


Last layers were adding light to the foreground and brightening up the sky. So, there ya have it. I called this one Dappled. Have you tried adding texture to your canvases? If you do, I'd love to know what you use and how you do it so please share in the comments!


Sunday, October 30, 2016

No tricks, just a work in progress

I've been back in the studio painting- nests of course. I'm not sure how long I'll be painting these but for now I'm going with the proverbial flow. As long as they keep hold of my heart and mind then I'll keep on making them.

Recently, one of my students was wondering what my process is for painting the nests so I thought I'd post a few work in progress pics.


Here you can see I've already got the gold in place. Before I can apply the gold I prep the canvas. The first thing I do is apply a layer of Super Heavy Gesso with a large palette knife. You can see the texture on the canvas surface. That layer of gesso is pretty thick so I leave it to dry over night. When it's dry I coat the canvas with a primary red acrylic. 

Then I use a white charcoal or pastel pencil to sketch in the outline of the nest. This gives me a map for the adhesive size used to adhere the gold. Once the size is tacky - that takes approximately 15-30 minutes - I place the gold leaf, brush off the excess, and this is what the canvas looks like.


In this next step I've coated the rest of the canvas, all areas without gold, with burnt umber. After the paint is dry I use the same pastel pencil to sketch in the main elements. I mark the edge of the nest opening, the largest pieces of leaves, plastic, or other bits of debris the birds used for building.


I paint those large pieces in first and then use a liner brush to start building the layers of grasses and twigs that are woven together. When I build these layers I work from dark to light starting with a burnt sienna\burnt umber mix and adding other colors as I get lighter and lighter.


Fledged
12x12
acrylic and gold leaf

The final strokes are the lightest ones, the ones that make the painting pop and give it depth. I think the toughest challenge about these paintings is photographing them because of the gold leaf. In every photo the gold looks a little different. It all depends on the angle, the time of day, the light- if it's overcast or sunny outside. You can see the difference even in these progress pictures. At the same time, that's my favorite thing about these paintings- the way the painting changes with the light. It's not a trick but sure is a treat! LOL, I know..... way too corny but couldn't help myself. 

Happy Halloween ya'll!


Thursday, September 8, 2016

The next nest


How was your Labor Day weekend? Mine was mostly quiet. I didn't even work in the studio. What I did do was a sleepover with our 6 year old granddaughter. There is nothing in the world sweeter than a conversation with a 1st grader and nothing more fun than the games she comes up with. Bath time means word games, movie time means picnics on the bed and snuggling together, playing outside means chasing bubbles and playing tag. She kept me on my toes the whole time.

And of course at this house, getting together also means drawing and painting time. She left us with this drawing and just cracked me up with the "AKA granddaughter". 

I'm made of complimentary colors :)

After all that fun I did get back to my own painting this week and finished another nest- actually 2 nest paintings.... remember the nest I got out of the tree in my yard?


Birthplace

This is the first painting to come from that nest. It's 18x18 and this time I used copper leaf instead of gold. I'm not quite sure how I feel about the copper. It's the only copper one so far and I don't know if I'll do another. Just that little bit of color shift in the background created some color issues in the nest itself so we'll see.


And it looks like I've started something.... I was recently gifted these 2 nests to add to my collection. The little bluebird nest on the left was my reference for the most recent painting.


The Nursery
16x16

Now it's time to prep some more canvases and figure out which nest is next. See ya'll soon.


Sunday, August 21, 2016

So many paintings... so little time.

Hope everyone's good. I've been busy in the studio since the last post. Finished this nest....


And then painted this one..... sold another one.....


Then for a change of pace I started this landscape with a flowering tree. I wanted to play with some different colors and shapes. I've done a couple of other pieces similar to this one and love the blue-greens against the gold leaf.


From this angle you can see the texture and shine of the gold. I'm using metallic gold acrylic to drybrush gold along the edge of the leaf. It softens the edge and makes a good transition between the 2 areas. And it shows off the texture too. Love the texture!


So right after starting this landscape I found an old nest in a tree in my yard. I got on a step stool to get some shots of it to paint from. It was well seated in between the branches so it wasn't easy to take photos.


The next day I decided to see if I could get the nest out of the tree without damaging it. It was tricky but I did it with only losing a couple of little twigs. 


Of course, now I'm dying to paint the new nest!!! It's going to take some discipline to make myself finish the landscape first. If I don't, who knows when I'll get back to it. There are so many nest paintings I want to do- bigger, smaller, different angles, doing some with copper leaf instead of gold.... 

So many paintings- so little time. LOL

Friday, July 22, 2016

No excuses, inspiration and summertime

No excuses. I saw this video on Facebook this morning and I thought- what an inspiration! I've had some issues lately with my hands due to a long time living with Rhuematoid Disease and of course the first thing that goes through my mind is.... what will happen if I'm not able to use my hands anymore? What if I can't hold a paint brush or colored pencil? Then I saw that and thought- hell, I'll just strap the brush to my arm if I have to. If you want to create or NEED to create like so many of us do, you'll find a way.

"Do not let the fact that things are not made for you, that conditions are not as they should be, stop you. Go on anyway. Everything depends on those who go on anyway." ~Robert Henri


So.... on to painting. Remember the bird's nest from the last post? Airborne is done- 12x12, mixed media on canvas. These are fun and a challenge to do. You know how much I love texture but I can't decide if I like it with these particular paintings. I think the nest itself might be easier to paint if the canvas were smooth but I do prefer the texture behind the gold leaf. Putting the gold directly on the canvas without texture tends to show off the weave of the canvas too much for my taste. I'll do the third one with the texture but maybe I'll play with something different for future pieces.


In the meantime I received a request for a portrait from someone who loves the gold leaf that I use in the landscapes but wants it done for a baby's portrait. Here's my first foray into gold and people painting. I have 7 grandchildren so I'm never without subjects to test techniques on. This one is Mila Blaze.


I think this will take some experimenting with surfaces. I love using Canson Mi-Teintes for portraits because I love to work on colored paper but the adhesive size for the gold does make the paper buckle. You can tell in the photo- especially on the left side. I did this one pretty small because I had a feeling that would be the case. The paper size here is 8.25x11. Maybe it would buckle less if the paper were larger? I don't know. The Canson also absorbs the size so it took 2 coats of the adhesive in order for it to work and get tacky. We'll see how the next one goes....


In the "catching up" post I shared some new landscapes. Since then I've shipped them off to the Signature Art Gallery in Tallahassee FL. and my wonderful rep Vera emailed me the photo of how they have my work displayed there- you can see the brand new ones on the left. I love this gallery and am so happy to be included with the fabulous artists they have there. Check out their website, or better yet, visit them if you can.

What's next? NOTHING! I'm not painting a single thing for the next week because tomorrow I head to the beach. I thought about taking some art supplies with me but then I thought about the hundreds of books on my kindle and decided to make a dent in that list instead and this will be my view for the next 7 days. Ahhhhh.......


Here's to creativity, inspiration, summertime, relaxation, peacefulness, and sunrises over the Atlantic. I hope you're getting your own time to rest this summer. See you when I get back.


Friday, July 15, 2016

Shiny gold and a bird's nest


Birds have always fascinated me. If I believed in reincarnation I think I'd like to come back as a bird. The thought of being able to fly, soaring on the currents, looking down at earth, seems so amazing to me! I first started using the bird's nest image in my Silent Voices series about infant adoption. As a thematic element it works to represent the position of the first mother, the place where life begins. And because of my love of birds it just made sense for me to use the imagery of their handiwork. 

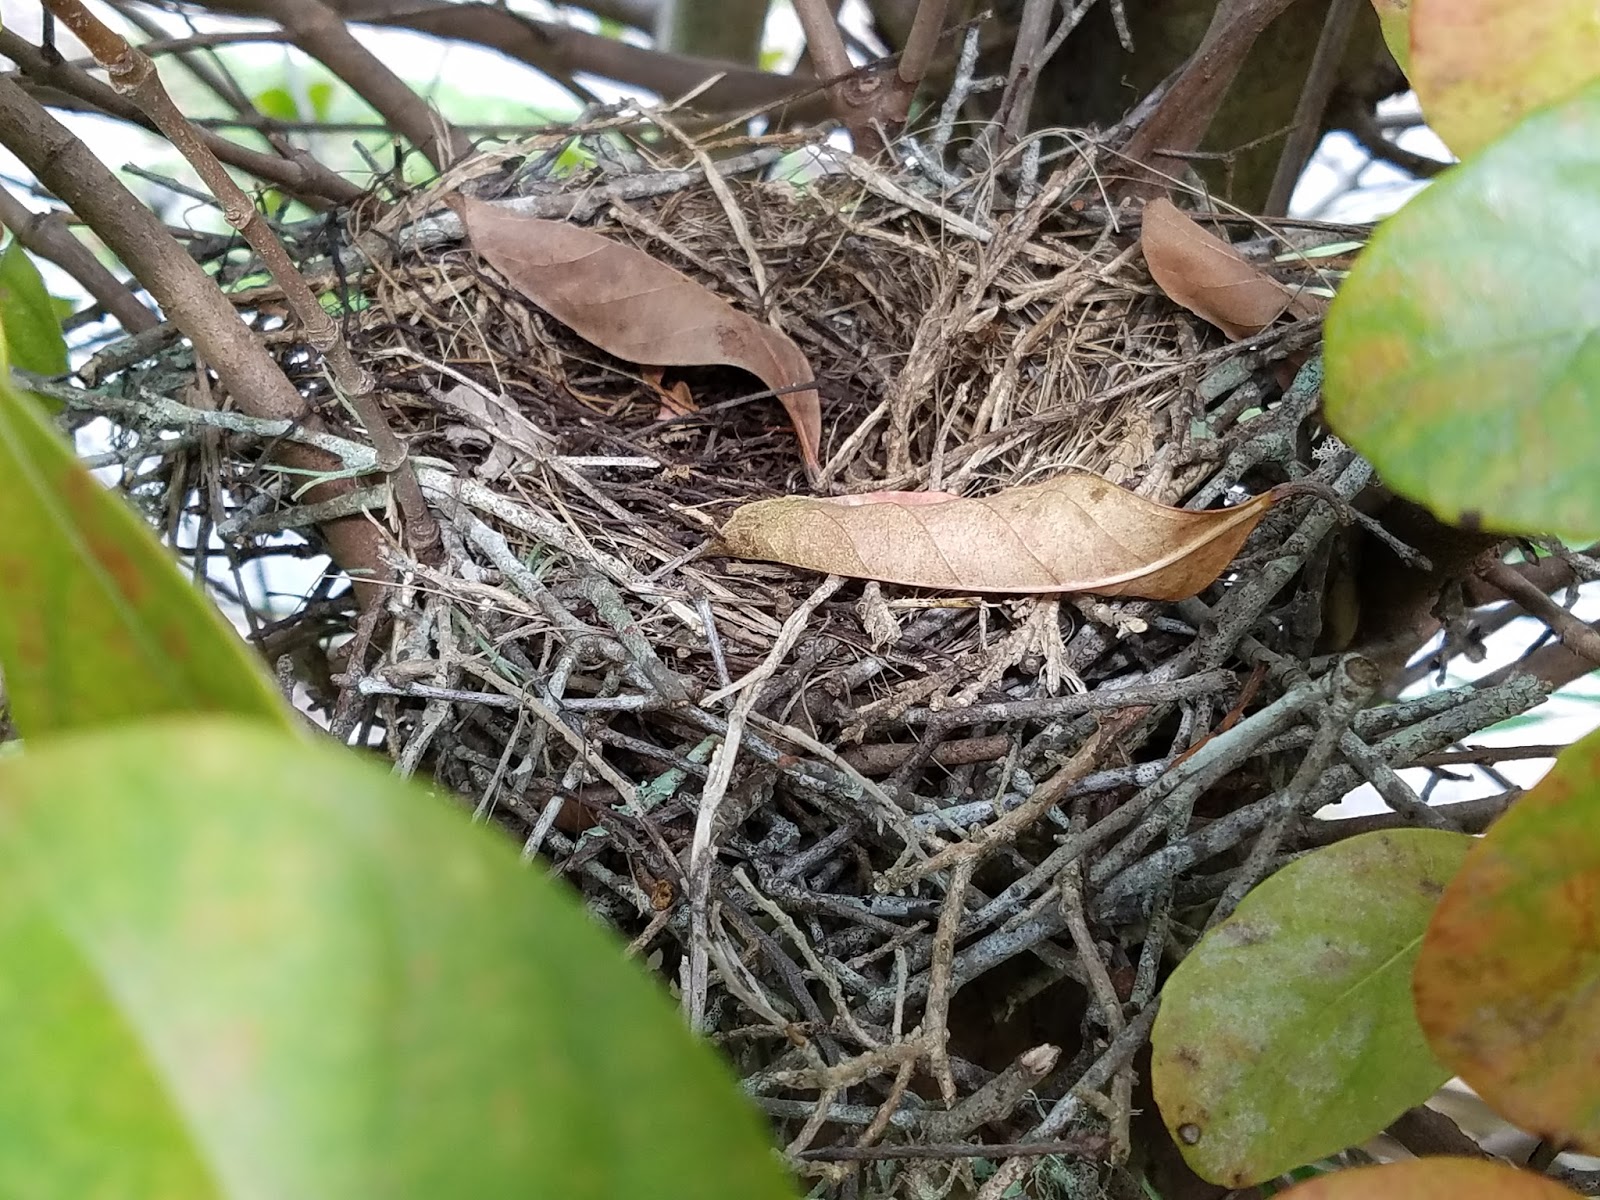
Since then I've been lucky enough to have wrens visit my home and build theirs inside my mailbox. So far I've collected 3 nests and keep them in my studio for inspiration and painting reference.

Here they are sitting on my big drawing table. 


When I paint my landscapes I frequently use gold leaf and texture- I love shiny, and I love the way a painting with gold changes when the light in a room changes. Lately I've been focused on some new gold sky paintings and decided I wanted to change things up a bit. A bird's nest is part of the landscape so why not? Why not combine the nest idea with the gold sky idea and do something a little bit different. So here's the first one......


And the second one (below) is in progress, still lots to do. I've noticed that when I painted the nests in the Silent Voices series they were more stylized. It just seemed better suited to the paintings that way. Now with these new ones I'm getting more realistic with them. They're not quite so neat- more messy and real. It just seems to work better with the texture and the looseness of the gold application.


I'm enjoying this little crossover in painting subjects between 2 different groups of work. Who knows where else it'll lead. 

Let me know what you think. I'd love to hear your thoughts- it would be a nice break from the chatter in my head. :)